POLAR COORDINATES Worksheet

Polar Coordinates – Baby Talk

Would You Rather Listen to the Lesson?
Voiced by Amazon Polly

You've heard the saying "talk to me like I am three" when trying to explain or understand something complex. The approach to introducing polar coordinates must be made using that same philosophy.

For students to understand how to graph polar coordinates and equations, these lessons must use a scaffolding method where students understand each piece leading to graphing the equations. Here is a list of the different tiers to that scaffold.

Tier 1

First students must know what polar coordinates are and how to graph them. Up to this point, students have worked with the Cartesian coordinate system where any point on the graph has only one set of coordinates.

Tier 2

Now we expect them to use a polar coordinate system that has an infinite number of coordinates for the same point. Students are no longer graphing (x, y) coordinates, but (r, ) coordinates, where r = the distance from the pole that was formerly called the origin is the angle measured from the polar axis that was previously referred to as the positive x-axis. Unless students understand each step of the process, will really be foreign to your students.

Tier 3

The last tier of the scaffold is using a graphing calculator. Therefore, it is suggested to use simple examples for understanding the basics. Pre-calculus students should be very comfortable with the Pythagorean Theorem.

Use it to help students determine the length of r. Select a point in the first quadrant of the Cartesian grid that has readily determined x and y values. From the point, sketch in the line segments that form a right angle with the line going through the origin and the point you selected.

POLAR COORDINATES Worksheet

From the angle formed at the origin, call the adjacent line segment x, the opposite line segment y, and the hypotenuse r. Substitute x, y, and r into the Pythagorean equation to get

x² + y² = r²

From this equation, students can find the value of r. Do not move on from this concept until students have mastered it. 

To discuss , you are referring to the angle formed by the line that goes through the pole (origin) and the polar axis (positive x-axis). Use this reasoning for a circle that surrounds a straight line.

C = πd

The circumference of a straight line is 0.

0 = πd

0/d = π/d

0 = π

When you have a straight line, the diameter of the circle is π. A straight line (the diameter of a circle without a circumference) is 180°, so a 15° angle is expressed as 15π/180 or π/12.

Have students find the measure of for these angles in terms of π.

Angle

Terms of π

30°

π/6

45°

π/4

60°

π/3

90°

π/2

120°

2π/3

210°

7π/6

Use angles that are easy to calculate. The problematic angles will be dealt with when students use a graphing calculator. When students are comfortable with this step, have them label the angles on the grids found on this link.

http://www.analyzemath.com/free_graph_paper/free_graph_paper.html#polar

POLAR COORDINATES Worksheet

Use both the Step of 10 degrees and Step of 15 degrees to give students lots of practice. Explain that they will now be able to predict in which quadrant a point in polar notation appears.

Four things must be fully understood.

  • Locate the angle first.
  • A positive value is measured counterclockwise from the polar axis.
  • A negative value is measured clockwise from the polar axis.
  • If the first coordinate is negative, it will appear in the opposite quadrant.

Drill, drill, and drill these facts into students. Go around the room and ask each student to repeat one of the points. The next three students have to say one that has not been mentioned. Make sure every student gives a response. The more students hear these facts, the clearer they will become.

Texas Instruments has a set of lesson plans that teach this in a way easy for students to understand. This is the link for the lesson.

https://education.ti.com/en/activity/detail?id=C397CBF604FE4E29838DFE8174DD7BED

Always work through a lesson yourself before presenting to the class. The first activity is the only one suggested in this blog. You may choose to use more of the material presented there.

Video:

The more students see an idea, the deeper the understanding they will have.

Here is your FREE content for this lesson!
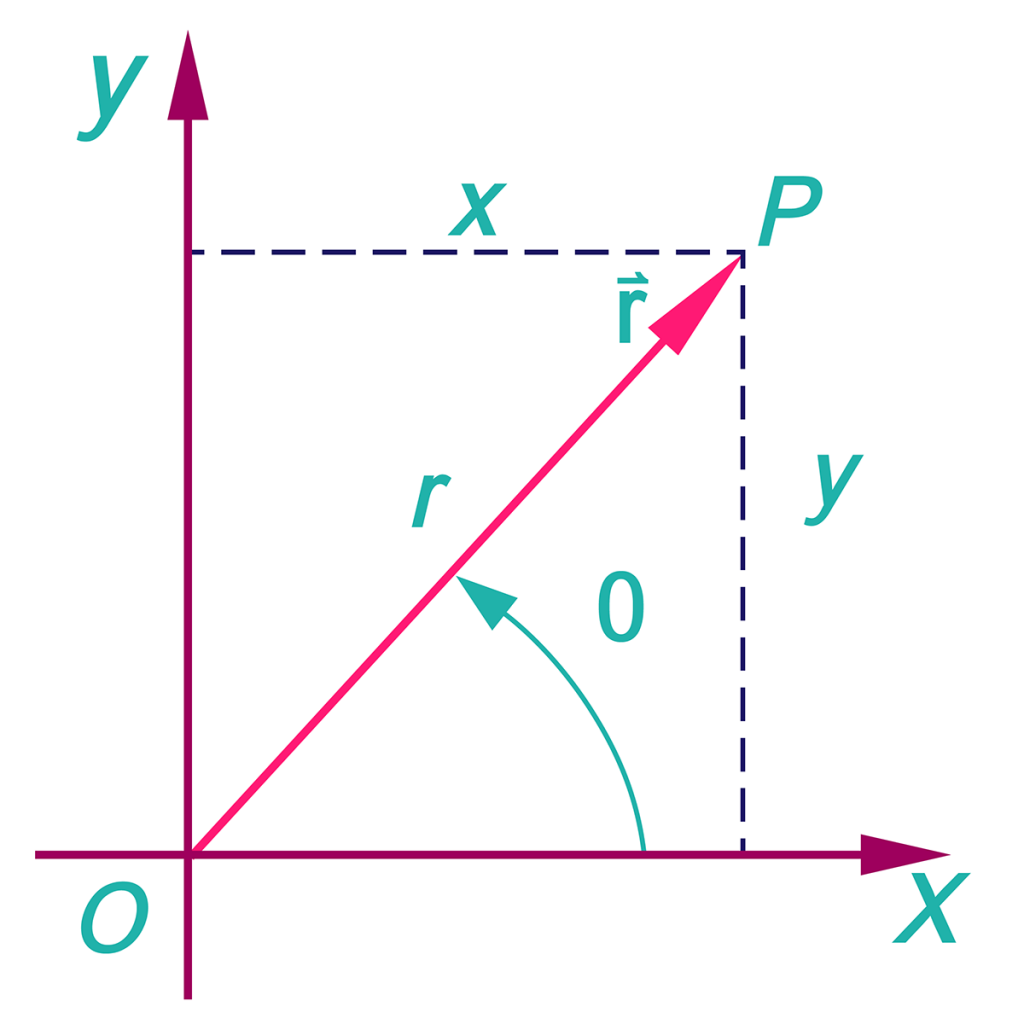
Polar Coordinates Worksheets - PDFs

 9-1 Assignment - Polar Coordinates (FREEBIE)

9-1 Bell Work - Polar Coordinates (FREEBIE)

9-1 Exit Quiz - Polar Coordinates (FREEBIE)

9-1 Guided Notes SE - Polar Coordinates (FREEBIE)

9-1 Guided Notes Teacher Edition (Members Only)

9-1 Lesson Plan (Members Only)

9-1 Online Activities (Members Only)

9-1 Video Lesson (Members Only)

9-1 Slide Show - Polar Coordinates (FREEBIE)

9-1 Word Problems - Polar Coordinates (FREEBIE)

Word Docs & PowerPoints

To gain access to our editable content Join the Pre-Calculus Teacher Community!
Here you will find hundreds of lessons, a community of teachers for support, and materials that are always up to date with the latest standards.

Want access to everything? 

Simply click the image below to Get All of Our Lessons!
PreCalculus Worksheets
Click Here to Get All of Our Lessons!

Leave a Reply

Your email address will not be published. Required fields are marked *